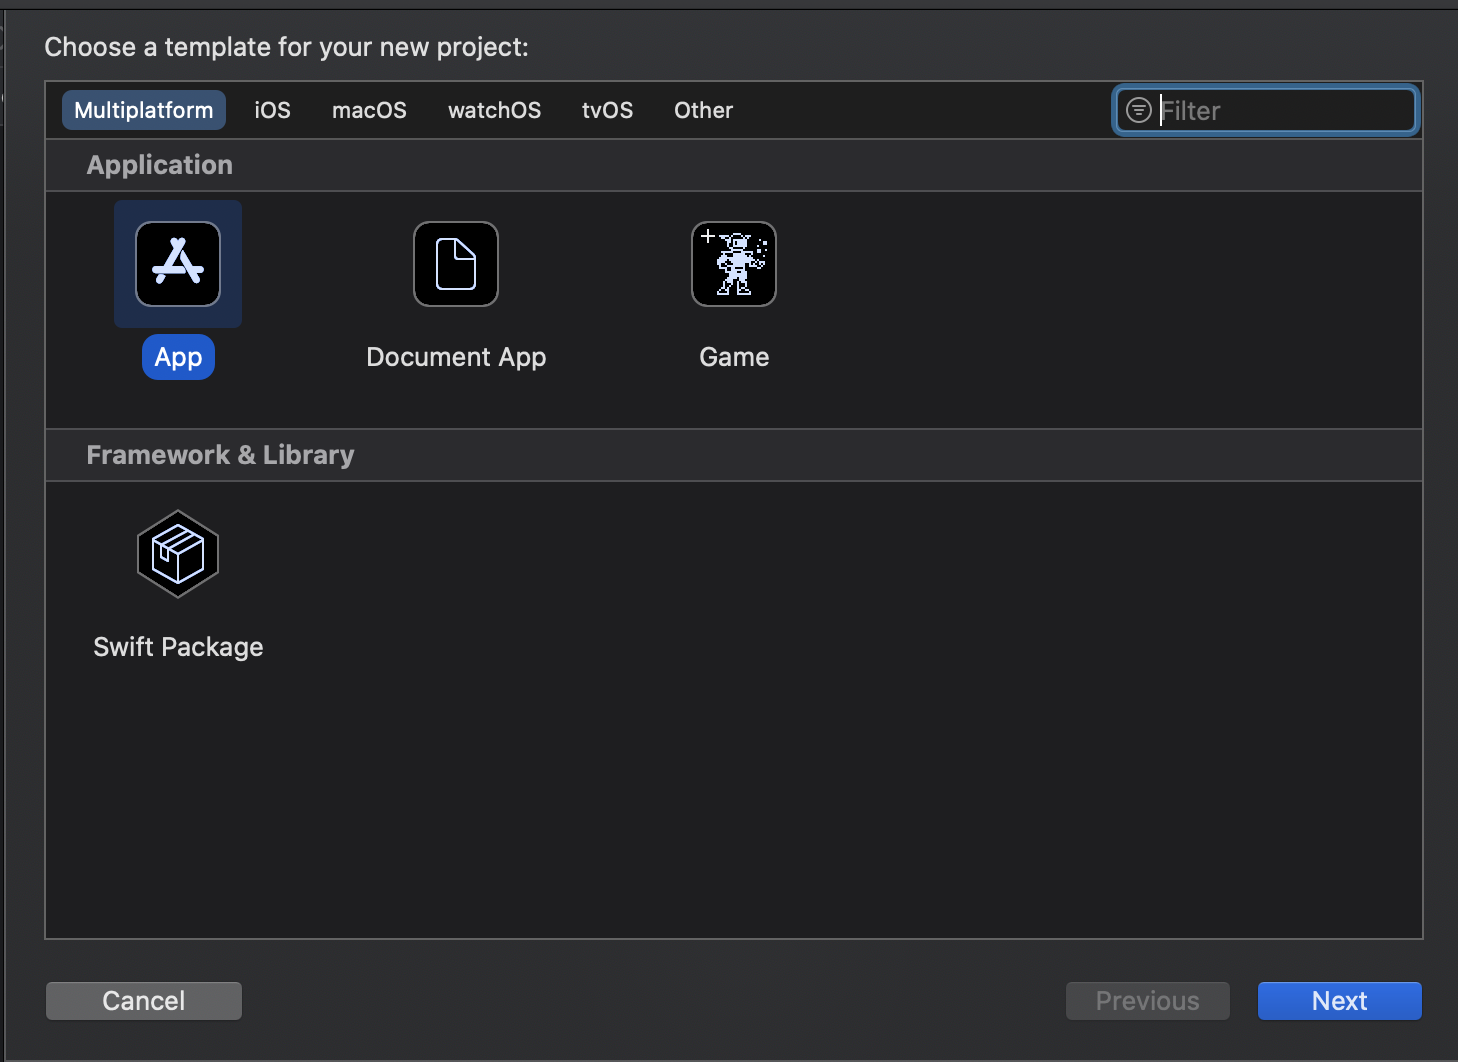
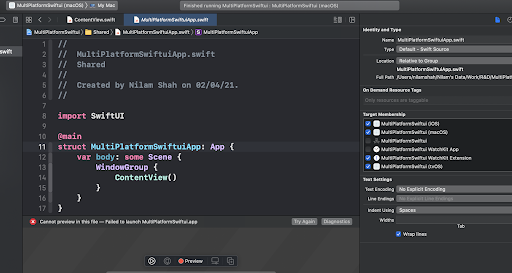
Let’s continue to create a project for multi-platform SwiftUI.
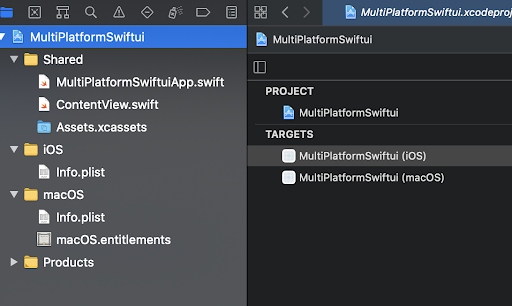
-SwiftUIMultiplatformApp.swift
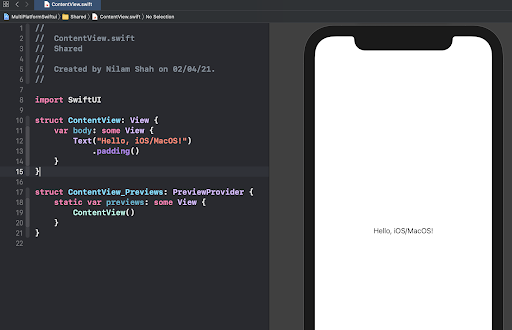
-ContentView.swift
-Shared -> Text(“Hello, iOS/macOS!”)
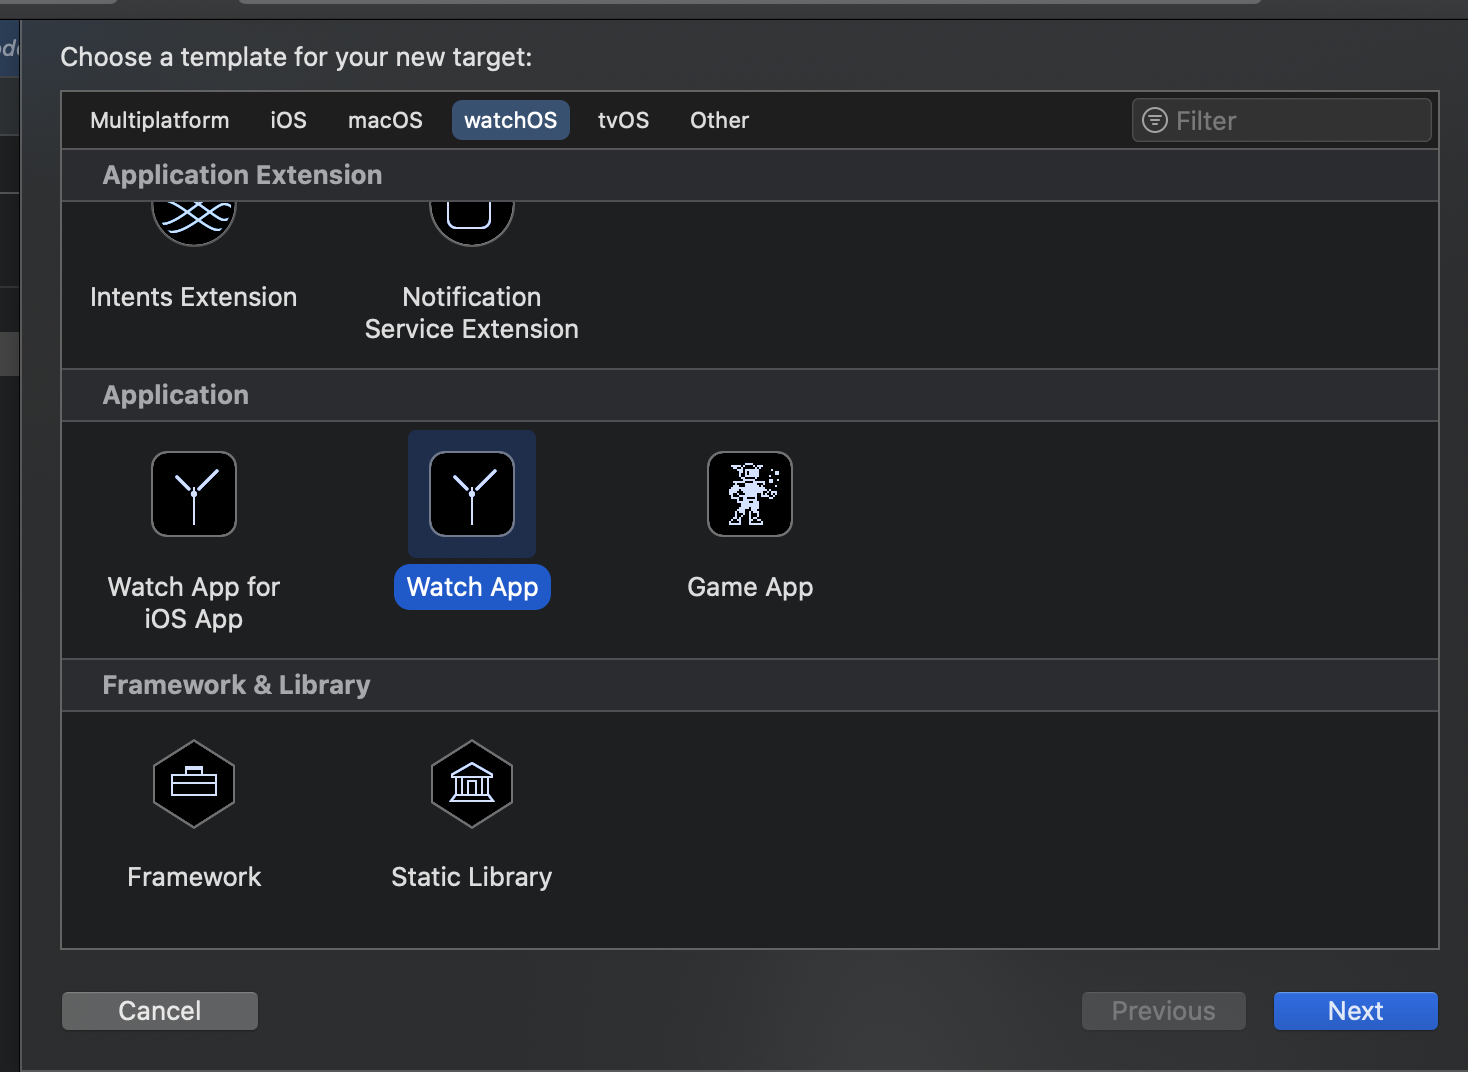
-SwiftUIMultiplatform (watchOS) WatchKit Extension -> Text(“Hello, watchOS!”)
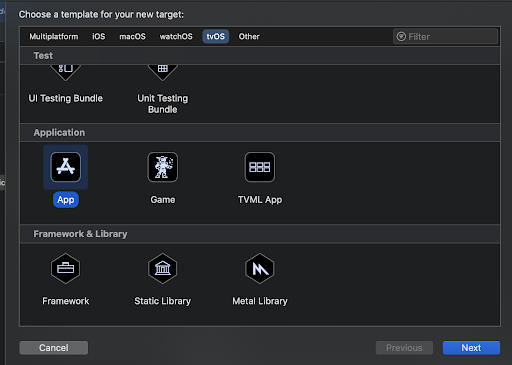
-SwiftUIMultiPlatform (tvOS) -> Text(“Hello, tvOS!”)
-Delete all except the Shared/ version of the file.
-Select the Shared/SwiftUIMultiplatformApp.swift file and add it to the tvOS and watchOS targets.
-SwiftUIMultiplatformApp (shared)
-ContentView (shared)
In a real app, we will come across cases where things can be displayed identically across all platforms and cases where we need to be platform-specific. This means we would ideally like a mixture of the two things.
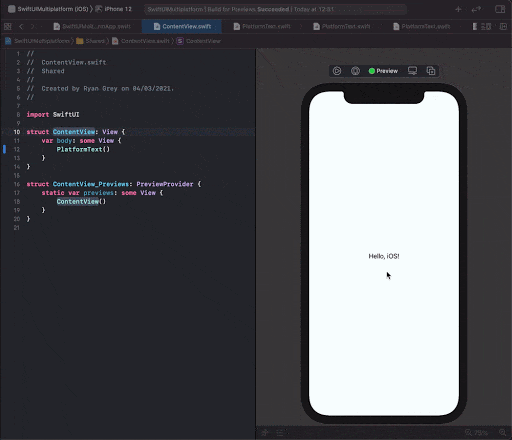
To achieve this add a file called PlatformText.swift to each platform directory. Ensure it is added to the correct directory and target each time you add the file. For example, here we are adding to the iOS directory and the iOS target:
Do the same for macOS, tvOS and watchOS.
import SwiftUI

struct PlatformText: View {
var body: some View {
Text("Hello, iOS!")
}
}

struct PlatformText_Previews: PreviewProvider {
static var previews: some View {
PlatformText()
}
}
import SwiftUI

struct ContentView: View {
var body: some View {
PlatformText()
}
}

struct ContentView_Previews: PreviewProvider {
static var previews: some View {
ContentView()
}
}
import SwiftUI

struct ContentView: View {
var body: some View {
let platformText = PlatformText()
#if os(tvOS)
platformText
.foregroundColor(.green)
#else
platformText
#endif
}
}

struct ContentView_Previews: PreviewProvider {
static var previews: some View {
ContentView()
}
}
The process mentioned above is a very basic demonstration of how SwiftUI can be used to share code between Apple platforms. Platform scoped files are very easy to set up, easily identifiable by directory structure and play very nicely with Xcode’s live previews. They are therefore an essential mechanism for sharing code between different platforms.
To explore more about setting up a multi-platform SwiftUI project, you can get in touch with our dedicated team of iOS developers.
Web design was once an element of online brand-building that you needed to know how…
Financial services and banking are being reshaped and revolutionized by what artificial intelligence has made…
Yes, you can add Google Maps to your Android app, providing seamless, interactive mapping for…
SEO and digital marketing are constantly evolving. It happens slowly but quickly at the same…
As an AI development team, we regularly encounter scenarios and questions from clients regarding AI…
Predictive analytics is your ultimate guide to data-backed business strategy. Data-driven insights, proactive decision-making, and…